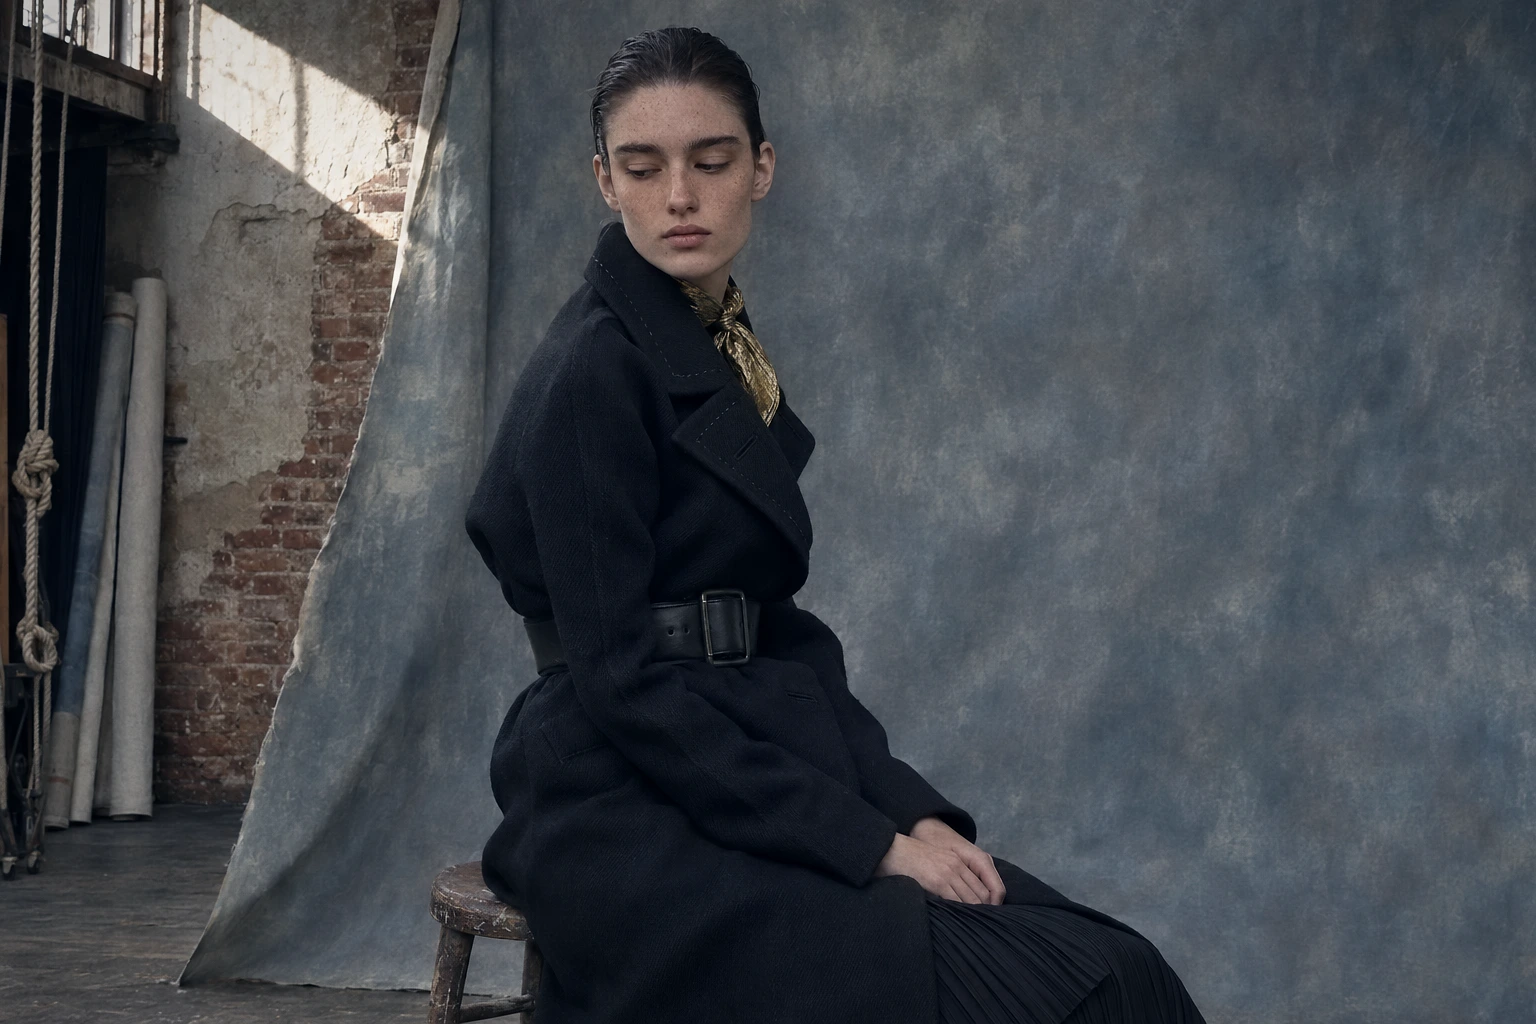
When people photograph clothes, the time usually goes into the fold of a sleeve, the creases, the angle of the light. The background comes last: whatever wall or bedsheet is to hand. Yet the largest area in the frame is almost never the garment. It is the background.
This piece works through apparel photography backgrounds in five steps: matching the price, separating the tones, choosing between paper, wall and cloth, protecting the seams, and holding one background through a season. By the end, you should be able to choose a background for your own clothes by reason rather than by taste.
Start an Apparel Photography Background From the Price
Before choosing a background, decide what the garment sells for.
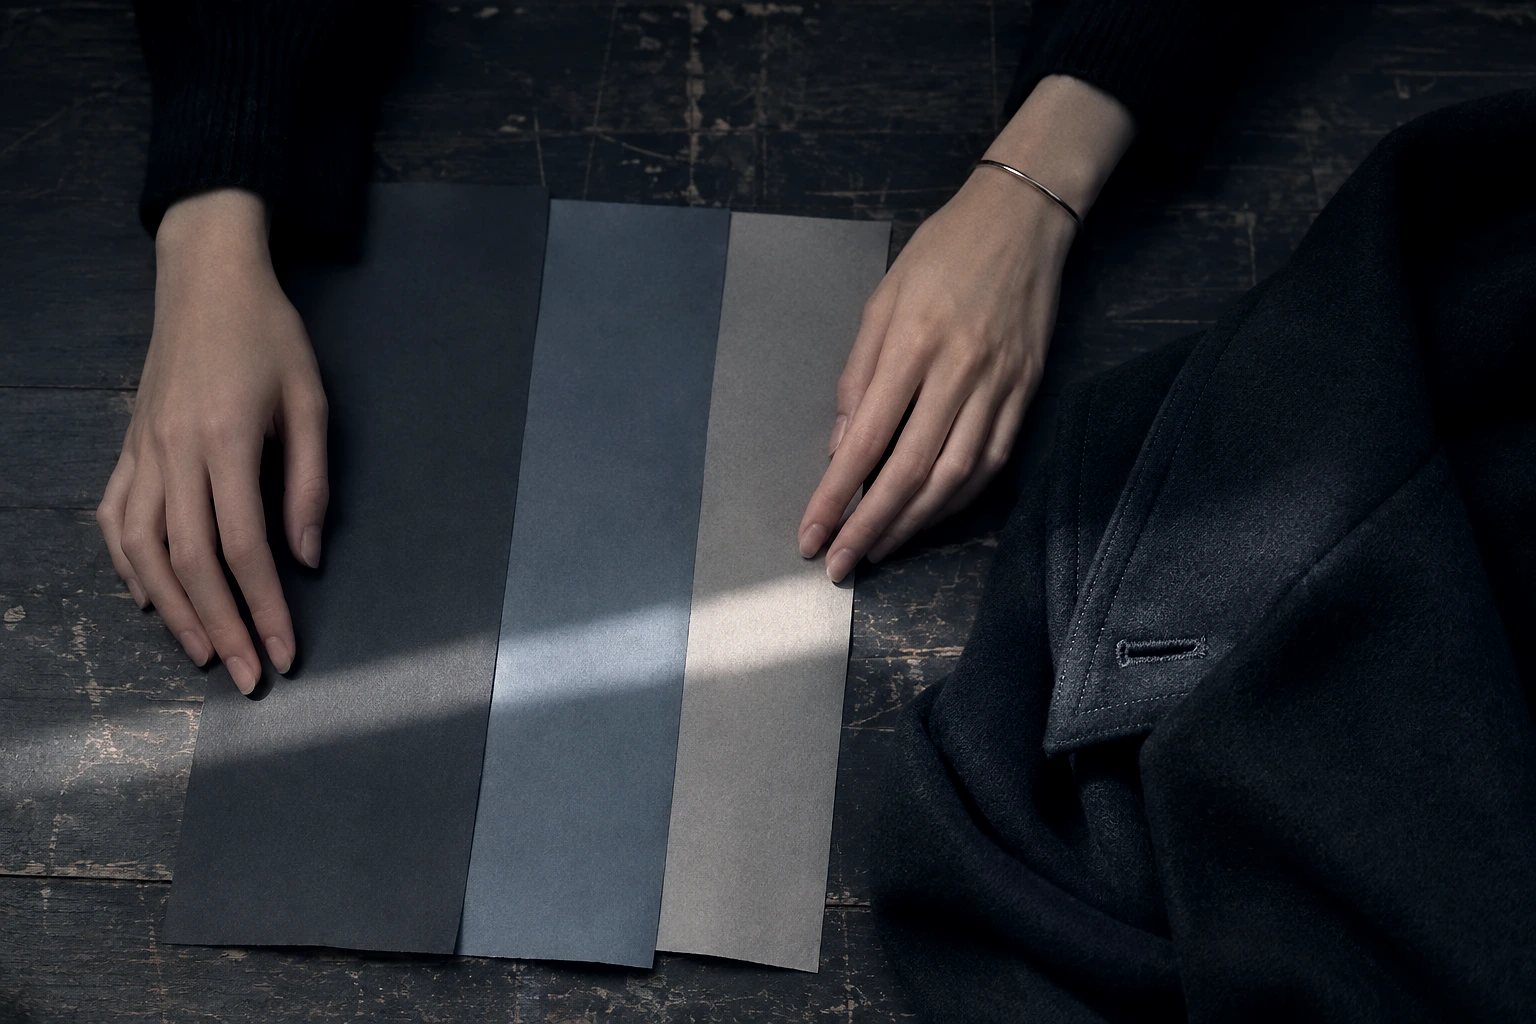
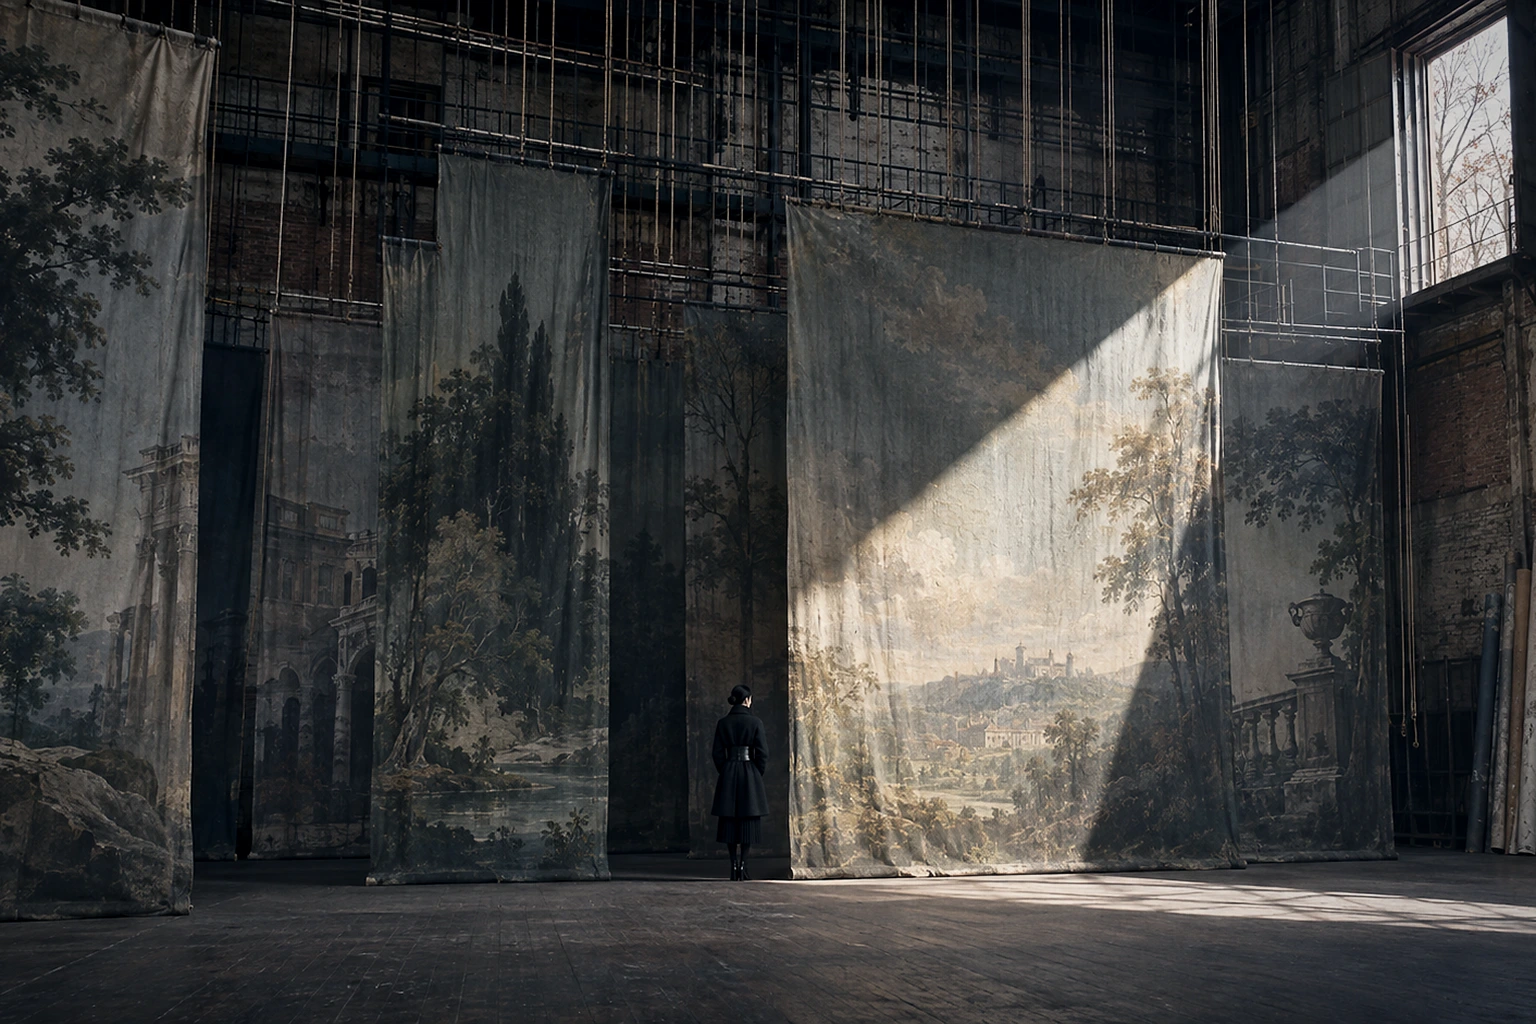
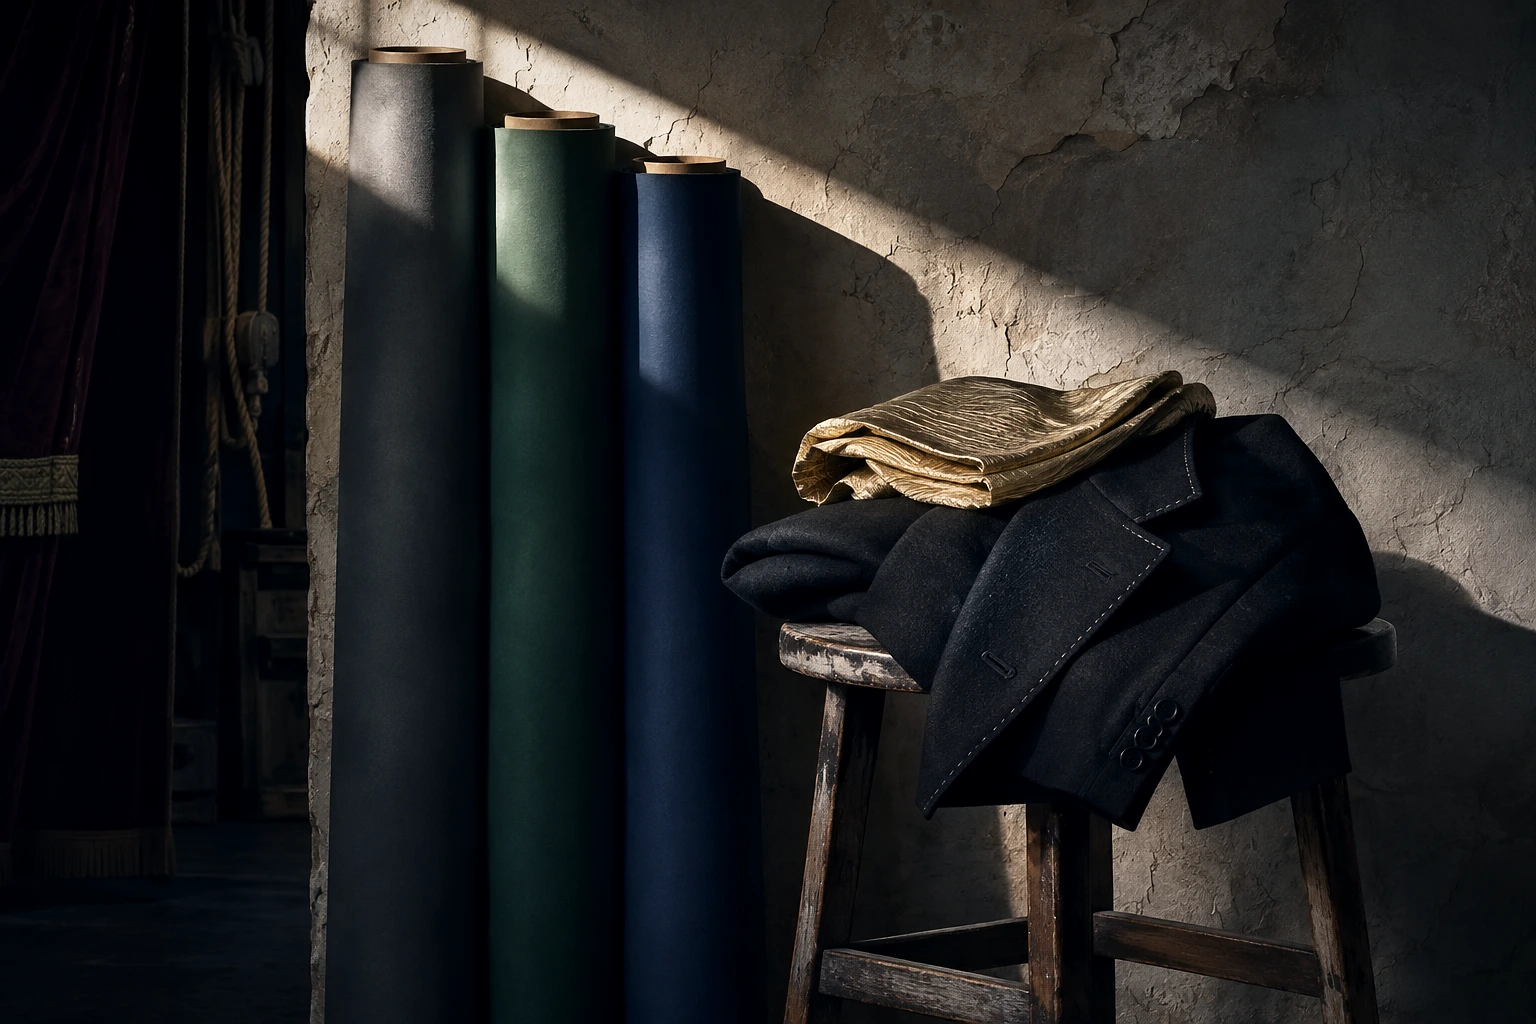
A white bedsheet, a taut roll of grey paper, a rough wall of old lime plaster. Every background carries a familiar place with it. The sheet means home, the paper means a studio, the plaster means a gallery or an old building. A customer reads that place in the same moment they read the garment, and from the place they estimate the price.
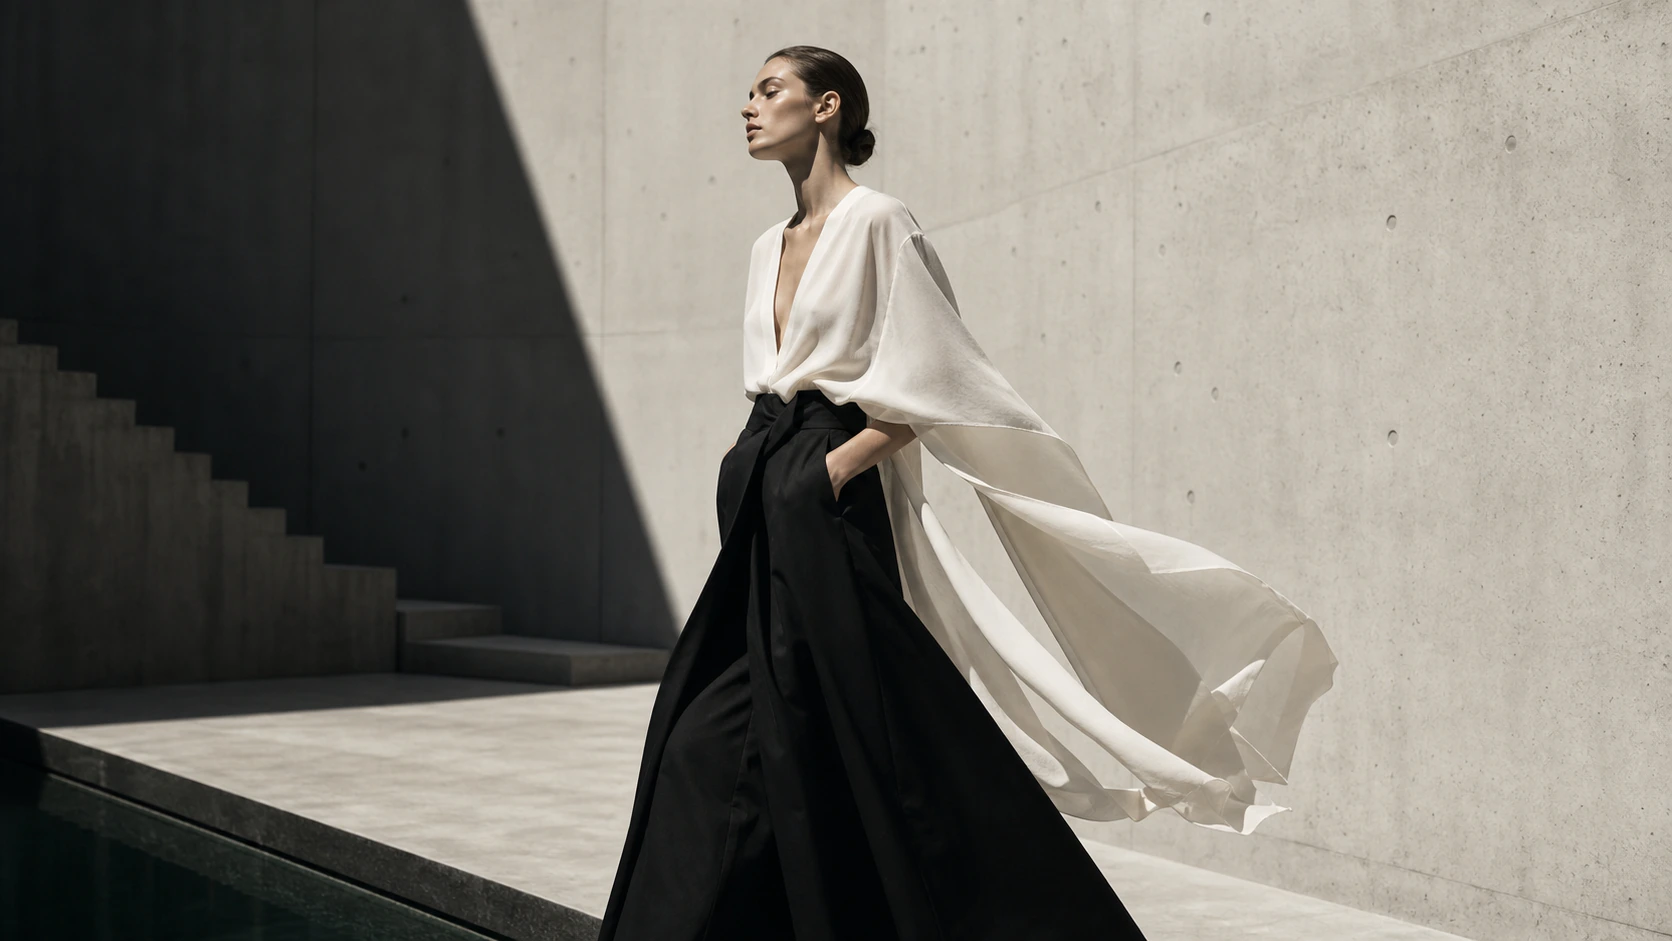
So the first question is not whether the background looks beautiful, but whether a garment at this price would sit there naturally. Put an everyday T-shirt against heavy stone and the shirt loses to the wall and looks cheaper for it. Put a well-made coat against a bedroom wall and the wall pulls the coat down. When background and price agree, the photograph states the price without saying a word.
A background is not the empty space behind the garment. It is read before the price tag.